configmgr
Application Catalog logs
There are 2 operational logs for the App Catalog server side.
- <Drive Letter>SMS_CCMCMApplicationCatalogLogsServicePortalWebSite.log
- <Drive Letter>SMS_CCMCMApplicationCatalogSvcLogsServicePortalWebService.log
Troubleshooting
If the App catalog has an error message "Cannot Connect to the Application Server" this is referring the to the ServicePortalWebService.log.
So far I have only seen the error:
error: WriteHeadersCallback(WebExceptionStatus errorStatus, ConnectStream stream, Boolean async)
in the log ServicePortalWebSite.log
restarting the IIS service resolved this.
Versioning and naming your base SOE .wim during OSD
If you replace the base wim (via build and capture) frequently it can be good to set versions and date the wim file that you import. It makes it easy to revert back if a change didn't go so well. Below are the steps in my build and capture to do versioning and work around a bug with naming your captured image.
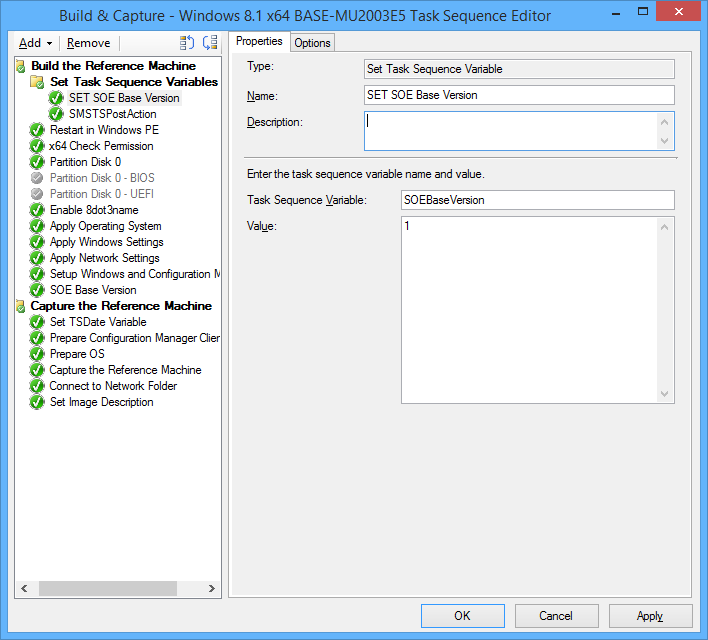
1. At the top of my task sequence I set a task sequence variable SOEBaseVersion, each time I do a build and capture this is incremented.
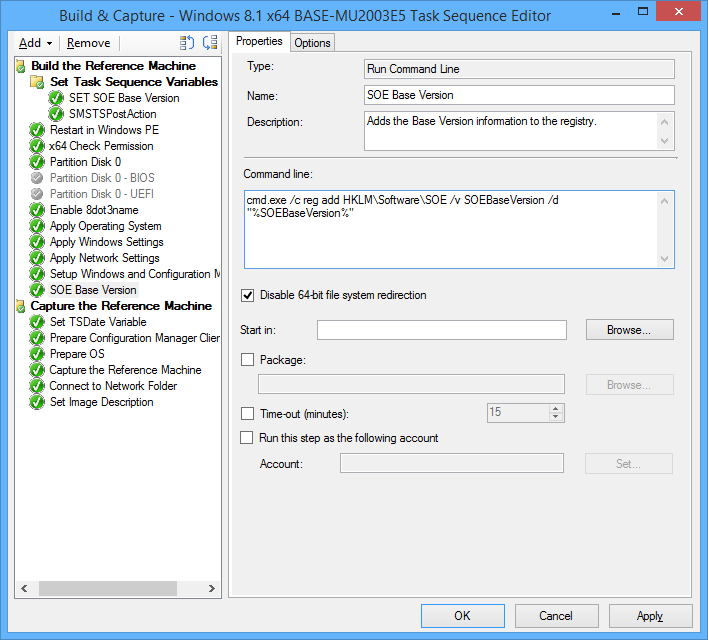
2. After 'Setup Windows and Configuration Manager' I have a 'Run Command Line' step with the following command so that we can utilize that value on deployed machines if ever needed:
cmd.exe /c reg add HKLMSoftwareSOE /v SOEBaseVersion /d "%SOEBaseVersion%"
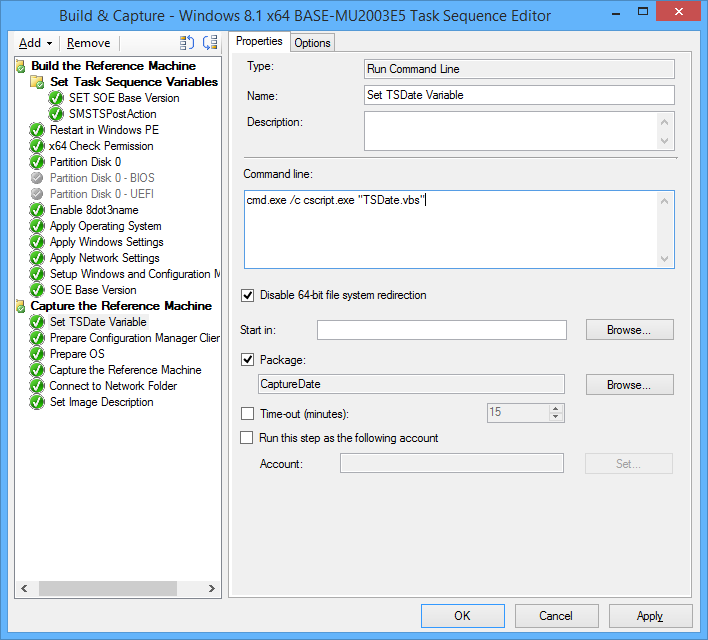
3. Next I run a vbscript to set the task sequence variable TSDate to the date in the format YYYYMMDD
Set env = CreateObject("Microsoft.SMS.TSEnvironment")
env("TSDate") = DatePart("yyyy",Date) & Right("0" & DatePart("m",Date), 2) & Right("0" & DatePart("d",Date), 2)
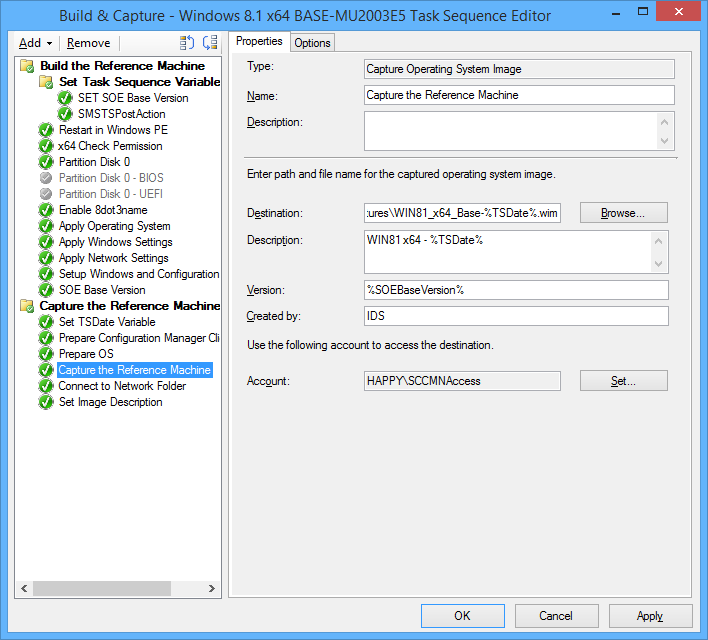
4. In the 'Capture the Reference Machine' step I can then use the TSDate Variable to create a unique file name for the capture and also use the version field. There is a bug with the SCCM console as it doesn't use the Description field when importing, the next 2 steps resolve that.
5. Connect to OS Capture share.

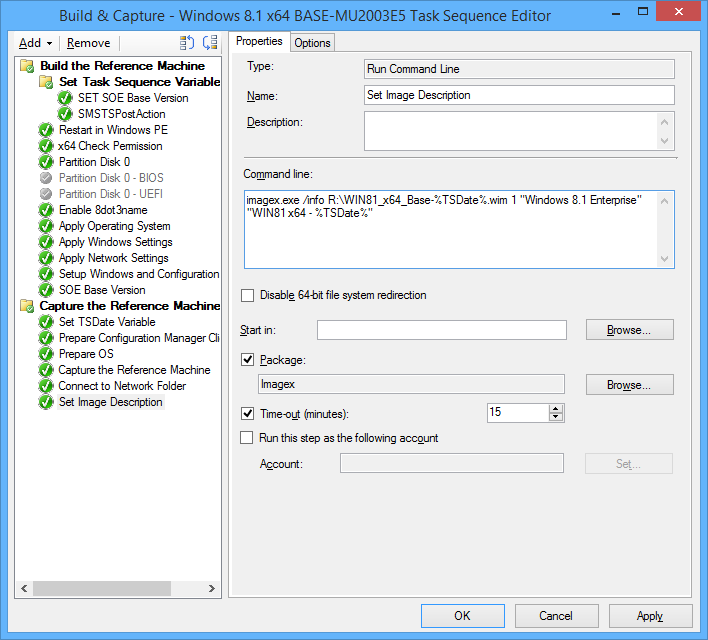
6. Copy imagex to a package, then use it to run the following command line
imagex.exe /info R:\WIN81_x64_Base-%TSDate%.wim 1 "Windows 8.1 Enterprise" "WIN81 x64 - %TSDate%"
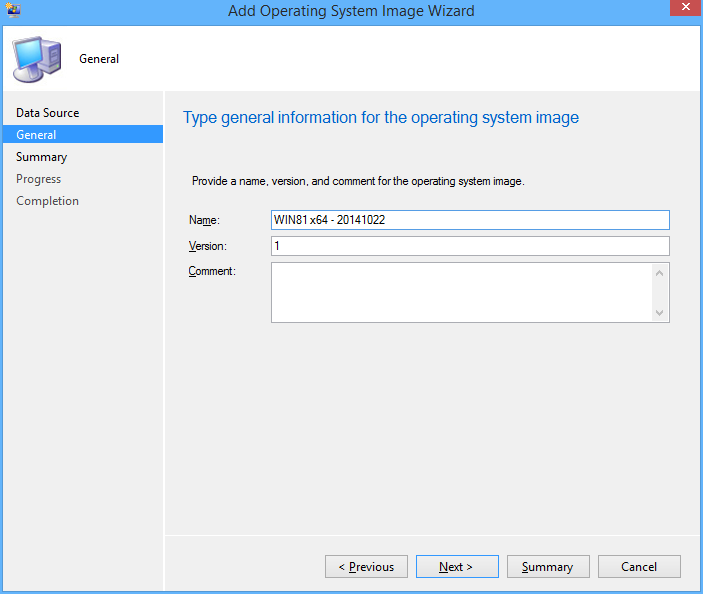
7. You can now import into SCCM with all the fields filled in correctly
Deploy Windows 10 Preview with SCCM 2012 R2 (Unsupported)

Johan Arwidmark and Niall Brady have posted guides on deploying Windows 10 Preview injecting the Windows 10 version of Dism during the task sequence.
Adding custom programs to the Set Default Programs UI
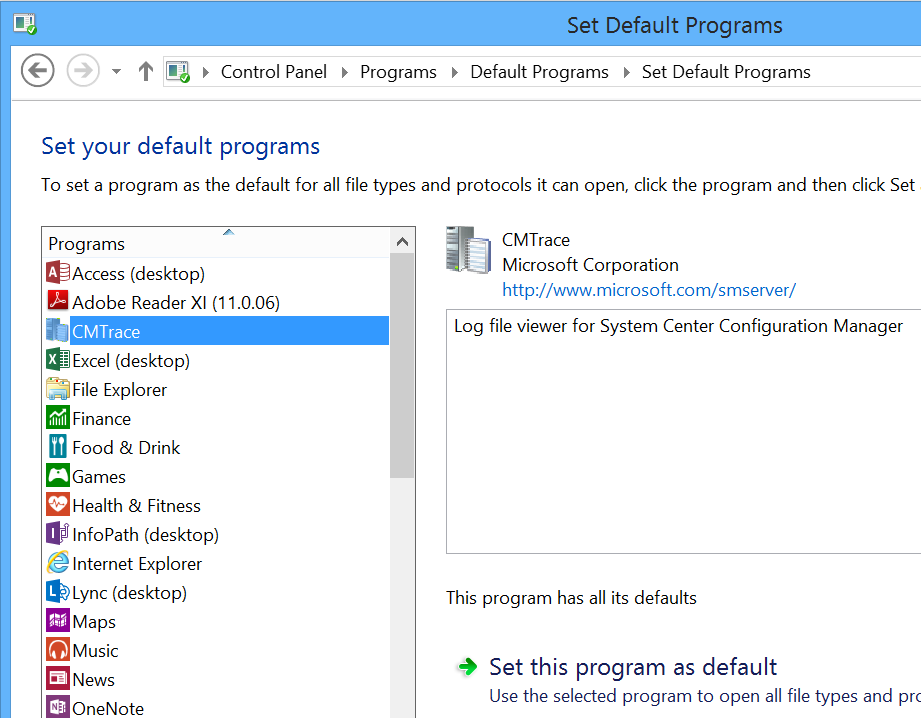
Hi, today I wanted the CMTrace tool to be recognised in the Set Default Programs control panel applet. There is a bit of information on the net but it's confusing.
In the registry you can set the program, launch arguments, file types and icon. This can be used for any app by modifying the reg file.
Once added you may like to use DISM.exe to extract your chosen defaults and import during your task sequence.
Modular Task Sequence groups - Just an idea

Maik Koster has created a really good tool that monitors/ keeps backup of task sequence changes
expanding from this it may be possible to mark groups of your task sequences as modules. So say when a task sequence changes the script would then record the xml changes of that module group and replace in all task sequences where it is used. It would be perfect for the apply driver steps.
I haven't really worked it all out as I don't have many task sequences for it to be super useful and it would be a bit to hacky. I hope Microsoft can implement modules and version control in the next release of ConfigMgr.
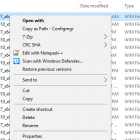
Add a Right Click Copy Folder or File path menu option in Windows Explorer
SCCM ConfigMgr doesn't like quotes around paths when adding packages or Wims, etc so the secret shh shift + right click copy as path isn't that handy.
Here's a reg file to add a special right click option for ConfigMgr
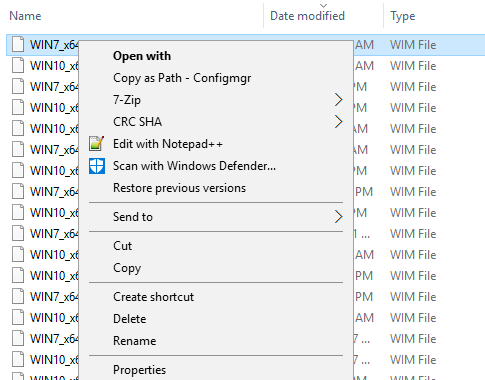
Take advantage of OEM Settings to display OSD state!
I have 2 scenarios that allows techs to determine the computers state. When the task sequence fails or when a Lab computer hasn't been added to a lab group. It's easy to enable the oembackground and rename a jpg picture. Group policy reg can disable the background picture.

For the first scenario you enable 'Continue on Error' for the very first group and have a catcher group at the end of the task sequence that runs only if TSVariable '_SMSTSLastActionSucceeded' = False. MDT Task sequences are setup like this by default. It is best if the captured wim you are deploying already has the background file in it for scenarios where it fails due to not having any network access.
In the catcher group you will need 3 steps:
1. Copy jpg: Run command line with disable 64-bit file system redirection using a package with the jpg file (Not needed if jpg is in the captured wim):
cmd.exe /c xcopy Fail-Wallpaper.jpg C:\Windows\System32\oobe\info\Backgrounds /i /y
2. Rename jpg: Run command line with disable 64-bit file system redirection
cmd /c ren C:\Windows\System32\oobe\info\Backgrounds\Fail-WallpaperMU1.jpg backgroundDefault.jpg
3. Enable OEMWallpaper: Run command line with disable 64-bit file system redirection
cmd /c reg add HKLM\Software\Microsoft\Windows\CurrentVersion\Authentication\LogonUI\Background /v OEMBackground /t REG_DWORD /d 1 /f /reg:64
I can expand and provide scripts on how I determine whether the computer is part of a lab ou/group based on name and ad object. Let me know!
Edit: This entry is for Windows 7, In Windows 8.1 you should do similiar but use the lockscreen - See the post on Windows 8.1 setting lockscreen and wallpaper for more information
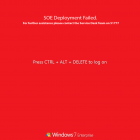
SCCM USB Boot disk creator
I made a little program that sets up usb drives to be bootable into OSD winpe. I made it because we are getting devices without dvd drives that can't pxe boot and our techs don't have access to create bootable usb's from the console as they need the dp cert and password.
You generate a boot iso from the console, then copy the cd contents to the source folder where the program resides.
Program and my bad source code (if anyone wants to improve it) https://send.estate/s?e=8d189f24f1c9ada[1]
Pre-Reqs:
Dot Net 3.5
A bootable iso generated from the SCCM Console
Instructions:
Copy all files from the bootable iso to the source folder that resides with the exe.
Distribute as you wish.
BDEDrive size
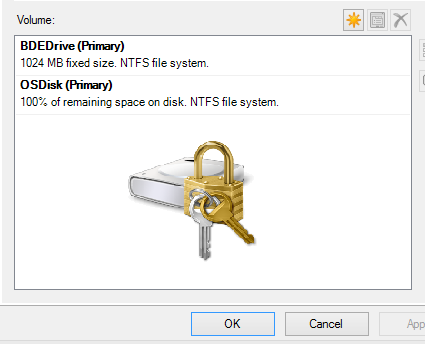
It helps to set a bit more space for this partition if you add more components to the boot wim, I chose to use 1GB. SCCM uses the drive with the most space that isn't encrypted to copy the boot wim down. We had issues in operating system deployment if the boot wim needed to be downloaded, the task sequence would fail as there wasn't enough space to store the boot wim.
Set Computer Model OEM Information during task sequence.
Make your SOE a little bit fancy
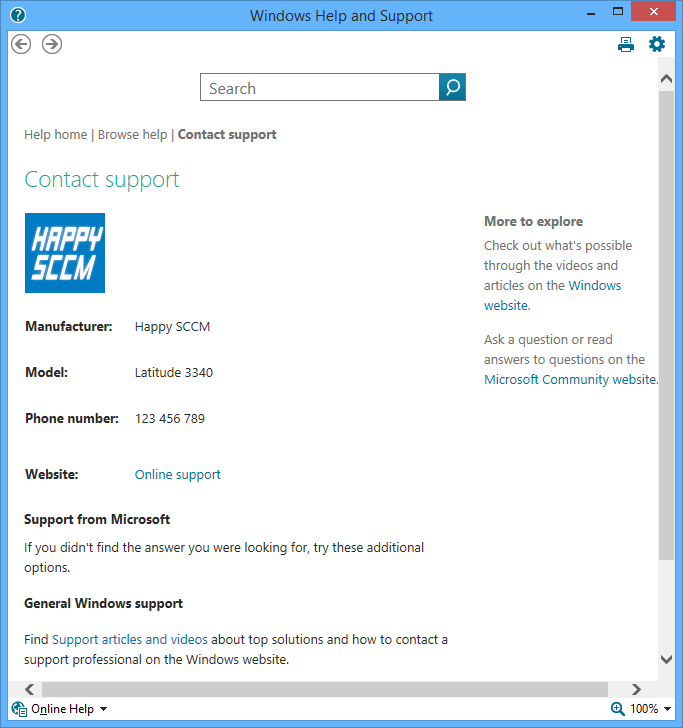
To set the Computer Model information during OSD you just need to add a run command line step
Powershell.exe -ExecutionPolicy Bypass -Command $model = Get-WmiObject win32_computersystem model;Set-ItemProperty -Path HKLM:SoftwareMicrosoftWindowsCurrentVersionOEMInformation -Name Model -Value $model.model
Other Settings you can put in HKLMSoftwareMicrosoftWindowsCurrentVersionOEMInformation
Logo - Pathtologo.bmp
Manufacturer
SupportPhone
SupportURL